
We love cooking with our lard. It’s nutrient dense, rather neutral in flavor, and has a high smoke point, making it perfect for frying, sautéing, and roasting. It’s also delicious in pie crust.
Last fall we traded several quarts of our lard with another farming family in exchange for some of the beautiful soaps they make. They are using that lard to make more soap! I love that. But it also means that our larder is low on lard (hehe).
It’s time to pull all that pork fat out of our freezer and render. Evangeline and I got our first batch done this morning. It’s currently cooling on the kitchen table, solidifying into jars of beautiful white goodness.
In case you are in need of a good rainy day activity (or perhaps you are just wondering what the heck you are supposed to do with all that back fat in your freezer) I thought I’d share my methodology with you.
When you render pork fat into lard you are slowly melting the solid chunks of fat into a liquid. There are lots of ways to do this. After several years of experimentation I’ve found the following to be the method that works best for me.
You will need:
Grass Fat Farm Pork Fat
A sharp knife and/or a meat grinder (Definitely don’t go out and buy a meat grinder for this project, but if you have one you might try using it.)
A slow cooker
A wooden or metal mixing spoon
A ladle
Glass jars with lids
A canning funnel
A metal mesh sieve that fits over your funnel
Cheesecloth
Step One:
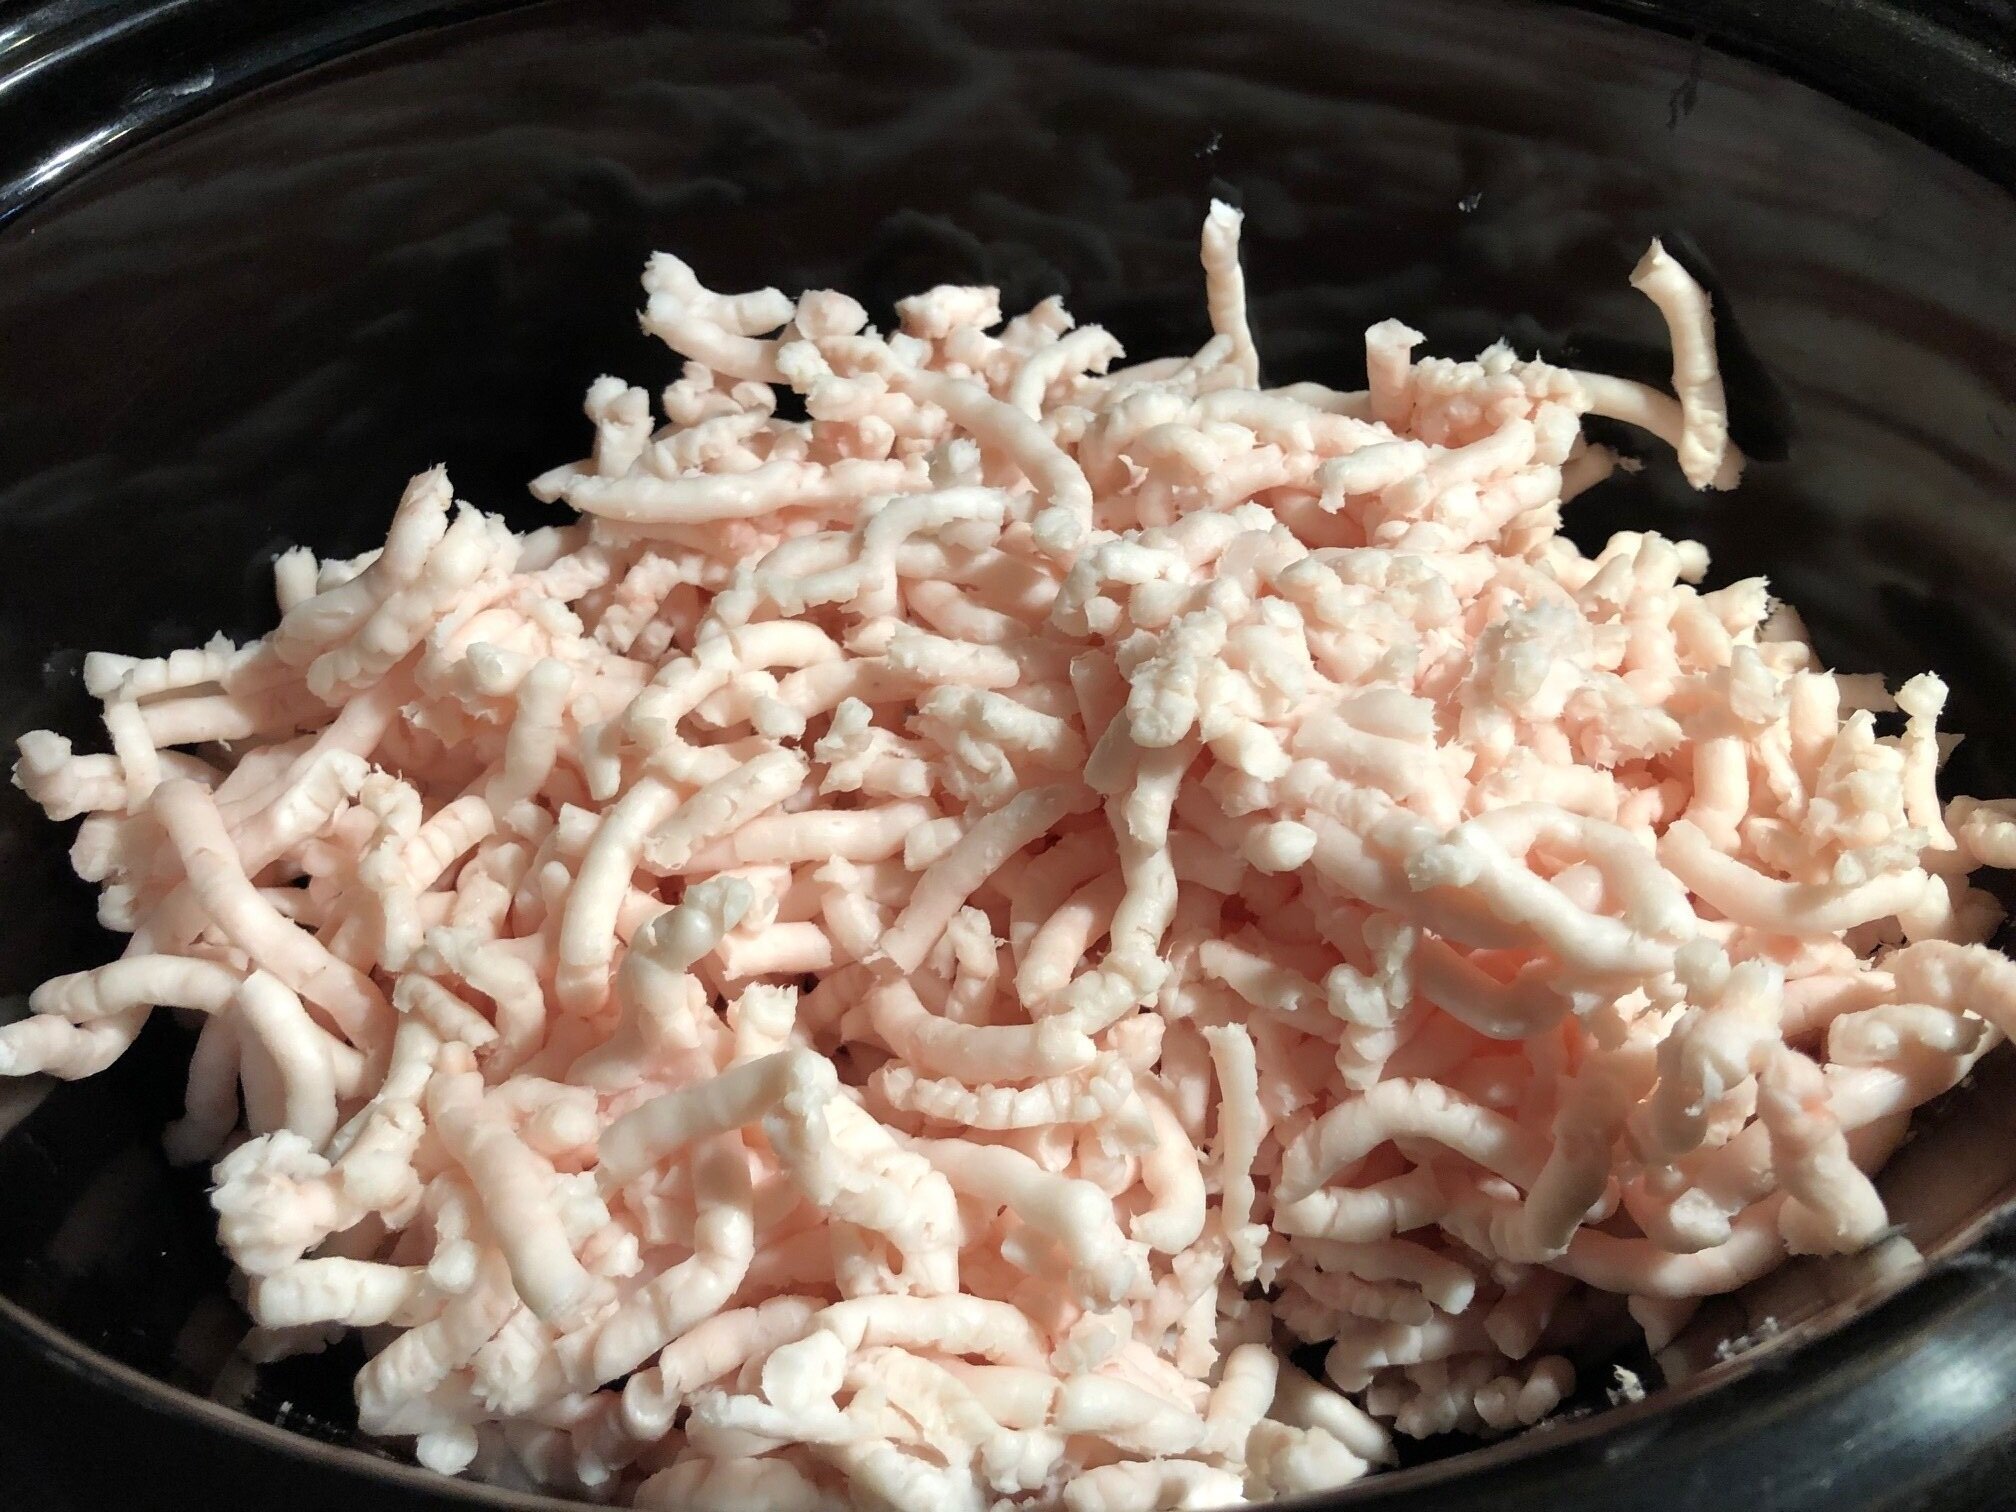
First you will want to cut your large chunks of pork fat into smaller pieces. The smaller the pieces of fat, the more evenly the fat will render. This means more lard overall and a more neutral tasting final product.
I like to use the meat grinder for this. We have a meat grinder attachment for our kitchen aid that gets the job done. I have also rendered a lot of lard by simply dicing the fat and that works well.
Pro tip: Fat that is very cold or even slightly frozen is easier to cut/grind.

She calls them “Fat Noodles.”
Step Two:
Put your cut up or ground fat into your slow cooker and set it to low. Sir the fat every ten minutes or so. Here, you are encouraging the fat to melt evenly, while preventing the small bits of meat and skin from cooking too much. Scorched meat will not ruin the lard, but it will give it a slightly porky flavor, making it less desirable for things like pie crust.
I’ve learned that the temperature settings on slow cookers can vary greatly. My cooker’s “Low” and your cooker’s “Low” are likely not the same. So there’s really no way for me to tell you exactly how long it will take for a certain quantity of fat to render. This will also depend on how small your pieces are. When I fill my large slow cooker with five pounds of ground fat it takes just about an hour to render. The same fat, in the same cooker, diced, takes about three hours. Using a friend’s cooker the diced fat takes more like two hours. Just keep an eye on it. You will know how often you need to stir.
Step Three:
Once the majority of your fat has melted you will need to strain it to remove any bits of meat and skin.
Turn off the slow cooker.
Place a canning funnel into a glass jar. Place a sieve on the funnel. And then put three layers of cheesecloth on the sieve.
(I have done this without the sieve and it is do-able, but also a little tricky to keep the cheesecloth from falling into the funnel. A rubber band is helpful if you do not use a sieve.)
Ladle the fat out of the slow cooker and into the jar, filtering through the cheesecloth, sieve, and funnel set up.


Put a lid on your jar.
That’s it! As your lard cools it will solidify and whiten.

Beautiful, no?
A Note on Storage: Pure lard is shelf stable. Mold and bacteria do not grow on fat. They will, however, grow on any bits of meat that may have made it into your jars. Just to be safe you may want to store your lard in the fridge.